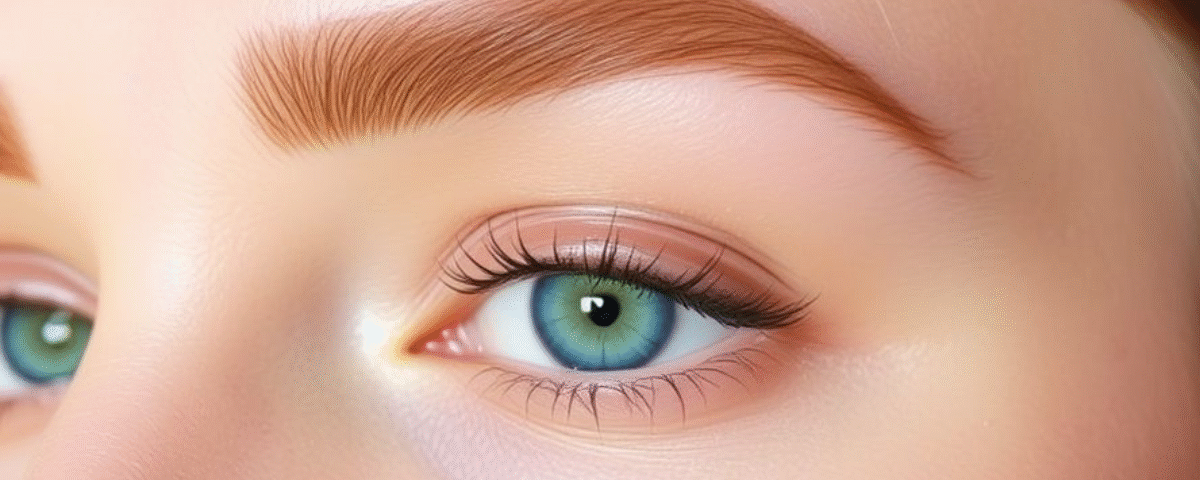
In the age of minimalism and polished detail, clear brow gel is quietly the most versatile product in a beauty edit. This little tube of transparent hold transforms messy hairs into sculpted frames, so a single swipe of clear brow gel can lift your look from undone to editorial. Whether you want a soft, natural finish or the high-drama laminated effect, clear brow gel is the invisible tool that makes it possible.
Learn how to use clear brow gel to shape, set, and subtly sculpt your brows so they read flawless in real life and in photos. By the end of this piece you’ll understand the techniques pro makeup artists rely on, plus the luxury touches to keep your clear brow gel routine feeling premium, effortless, and utterly modern. Explore more trending beauty guides on our Homepage — your destination for luxury skincare, wellness, and style inspiration.
Filed under: Skincare & Beauty Tips — discover expert routines, latest beauty trends, and pro-approved product guides.
What makes clear brow gel a beauty essential
In editorial suites and minimalist makeup bags alike, clear brow gel holds a unique position: it is the product that does more with less. Unlike tinted formulas that add pigment, clear gel focuses purely on texture and trajectory — the architecture of hair. When expertly applied, it corrects asymmetry, tames rebel hairs, and subtly sculpts a frame that flatters the eyes without shouting for attention.
Luxury is often about restraint; in brow styling, it’s also about precision. A luxury-feel brow isn’t about volume alone, but about immaculate placement. The right clear brow gel maintains the natural nuances of each hair while ensuring they stay exactly where you intend — an elegant compromise that reads both organic and considered.
The luxury of formulation: choose the right gel for your brows
Not all clear gels are created equal. In 2025 the market has matured: formulas now range from featherweight, conditioning gels to high-hold, glossy laminating systems. Picking the right one is the first step in achieving a clean, magazine-grade finish.
Key formula types:
- Featherweight / soft-hold: Invisible, flexible finish — best for everyday elegance.
- Matte soft-hold: Keeps texture without shine; excellent for camera-friendly, natural looks.
- Medium / long-wear: For those with oily skin or long days — these keep shape longer.
- High-hold / laminated: Wet-to-dry formulas that give a lifted, set-in-place structure.
- Conditioning blends: Contain panthenol, glycerin, or botanical oils to nourish brittle hairs.
Luxury-tip: If you love a salon laminated look but also care about hair health, choose a conditioning high-hold gel — these combine setting polymers with strengthening ingredients so the finish is both bold and kind.
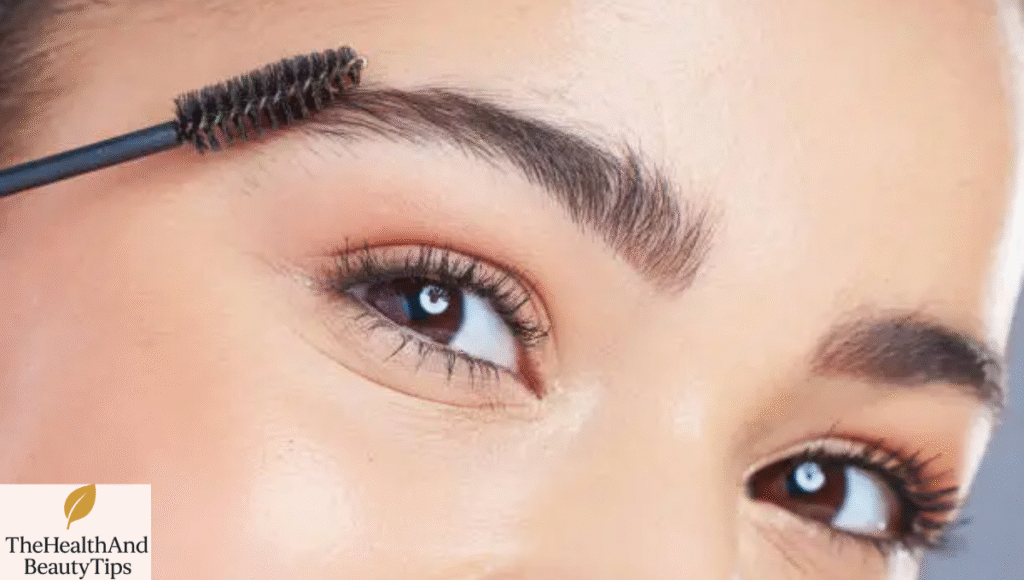
Daily routine for groomed, natural brows (modern, step-integrated — no “Step-by-step” heading)
This is the daily ritual for a refined, natural brow. I’ve woven the exact application steps into a narrative so readers can follow along without losing the flow of the piece — perfect for magazine-style reading and still highly actionable.
Start with fresh canvas. Clean, dry skin accepts product best. Remove excess oils or sunscreen from the brow area with a gentle micellar wipe or water-based cleanser. This small prep step prevents slippage and ensures even hold.
Evaluate your architecture. Take a breath and look at the brows as shapes, not just hairs. Use a spoolie to comb hairs in their natural direction and note where gaps or stubborn hairs live. This assessment is the quiet, editorial move that separates hurried application from considered styling.
Refine before you set. If you use a pencil or powder for sparse areas, do so now — very gently. The goal is minimal fill; the clear gel will unify pigment and hair, so less is more. Soft micro-strokes in the direction of growth are all you need.
Load the wand with restraint. Luxury application often comes down to control. Wipe any excess from the wand on the rim of the tube; a single thin coat is preferable to multiple heavy layers. Excess gel is the most common cause of clumping and stiffness.
Apply with intention. Starting at the inner brow, apply the gel with small, upward strokes that follow the natural hair growth. For the body of the brow, brush upward and slightly outward. For tails, use the tip of the brush to lightly feather hairs into place. This small choreography creates lift without rigidity.
Sculpt gently. Immediately blend with a clean spoolie to soften edges and align hairs. The spoolie is your sculpting tool; use it to finesse the shape so no single hair looks out of place. If you prefer a slightly lifted arch, brush the central hairs a touch higher while keeping the tail streamlined.
Let the gel set undisturbed. Allow 30–60 seconds for the formula to dry. During this moment, resist the urge to rub or re-sculpt; the finish will be smoother if left to set naturally.
Finish with balance. If shine is undesirable, a light dusting of translucent powder on the brow bone (not on the dyed hairs) will mute any unwanted gloss and ensure the brows look consciously matte and editorial.
This daily ritual is a study in subtlety: the result is brows that feel natural, look polished, and hold through a full day of movement.
How to create the laminated “editorial” finish — advanced technique (the pro approach)
Want that high-fashion lifted brow without a salon service? The laminated finish lifts hairs vertically for a fuller, uniform look. It’s dramatic but still elegant when done with nuance.
Choose your tool and formula. A slightly wetter, high-hold clear gel pairs best with this technique. Use a wand with a slim, tapered brush for precision.
Comb & map. Comb all hairs upward with a spoolie and assess symmetry. The aim is to have both brows lift toward the hairline without one overpowering the other.
Controlled application. Apply gel generously — but precisely — from the inner arch outward, using the wand tip to guide tails upward. Think of the motion as painting a vertical texture, not slapping product on.
Pin into place. Use a clean, dry spoolie or a small layered brush to press each strand upward and smooth the surface. For a longer hold, use a disposable clear brow tape or a tiny patch of wax strip placed behind the hairs during setting — remove gently once dry.
Optional warm set. A brief, cool setting blast with a hair dryer can accelerate drying, but please: cool or low setting only. Too much heat compromises the gel’s film-formers and can create a brittle finish.
Final polish. Once dry, soft-brush the brows into a unified plane. For editorial photos, a very small amount of glossy balm on the outer tails can create a dewy accent; for daytime luxury, leave the finish matte.
This technique is best reserved for days you want your brows to do the talking — think portraits, events, or editorial shoots.
Mistakes that ruin the finish — and how to avoid them
Even the best product will underperform if misused. Here are common errors and their elegant fixes.
Overloading the wand: Excess product equals clumps. Wipe on the rim and apply in thin layers.
Applying to oily skin: Oils break down film-formers. Cleanse the area or use a blotting sheet before applying.
Using an old gel: Expired gels can separate, flake, or smell. Replace every 6–12 months, depending on usage.
Brushing against hair growth: This causes unnatural angles. Always follow natural growth for a soft outcome.
Rushing the set time: Smudging before drying creates sticky, uneven texture. Let it set.
Overheating during a “set”: High heat makes hairs brittle; only use cool/low settings.
Luxury is in the detail: avoid these mistakes and the finish will remain refined.
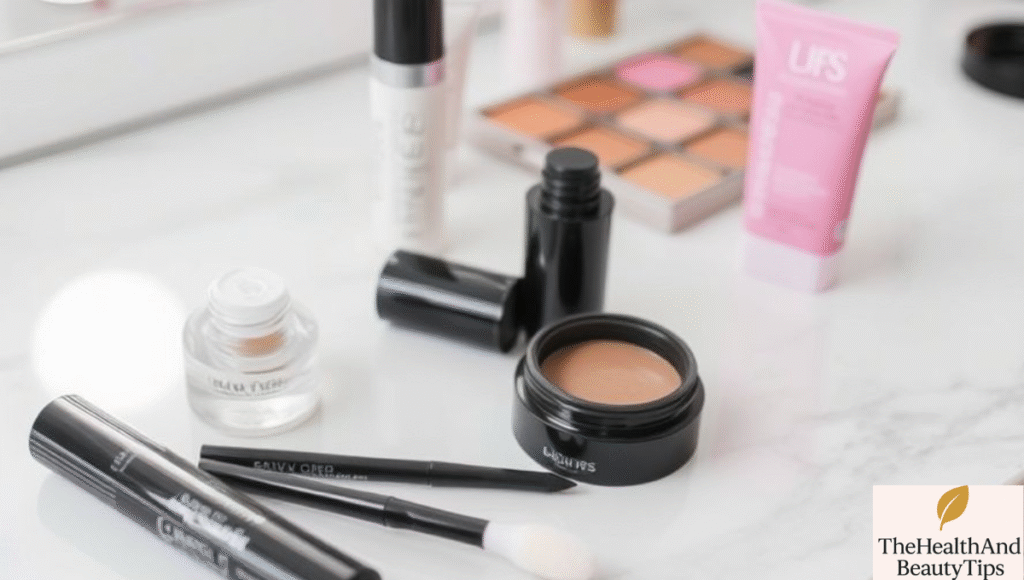
Care, maintenance, and pairing with serums & pigments
Your brow routine is a miniature skin and hair care ritual. The best results occur when styling is paired with maintenance.
Overnight nourishment. A nightly application of a brow serum with peptides or castor oil can encourage stronger hair and fuller regrowth. Use sparingly — a little goes a long way.
Weekly micro-care. Gentle exfoliation around the brow area removes flake and enhances product adherence. Avoid aggressive scrubs; a soft washcloth or enzymatic exfoliant once a week suffices.
Trim & tidy. Tiny trims with micro-scissors keep the silhouette clean. Excessive plucking disrupts natural density and can create gaps that are challenging to correct.
Pigment pairing. If you use tinting products (tint, pencil), apply pigment first and seal with clear gel. The gel will lock in micro-strokes, making them last longer and appear more integrated with natural hairs.
Sensitive-skin considerations. Opt for fragrance-free formulas and patch test a new gel on the inner forearm. If irritation occurs, discontinue and try a hypoallergenic option.
Expert Insight: Learn more about the original Benefit Clear Brow Gel on the official Benefit Cosmetics website.
Shopping checklist: what to look for in 2025
When choosing a luxury-grade clear brow gel, look beyond the label:
- Hold level & finish (soft, medium, high; matte vs glossy).
- Ingredients — glycerin, panthenol indicate conditioning benefits; avoid high denatured alcohols if you have dry skin.
- Wand design — tapered wands allow precision at the tail.
- Packaging hygiene — a slim neck and quality cap reduce contamination risk.
- Clinical claims — if hair health is important, look for clinically tested peptides or panthenol.
- Sustainability & cruelty-free certifications — increasingly important in premium selections.
- Tester availability — try samples to ensure the hold and finish meet your real-life movement needs.
Luxury pick tip: Keep one travel-size soft-hold and one full-size high-hold for event days — the soft-hold for everyday ease, and the high-hold for editorial lifts.
Related: Top Luxury Brow Gels 2025 — Expert Picks & Swatches.
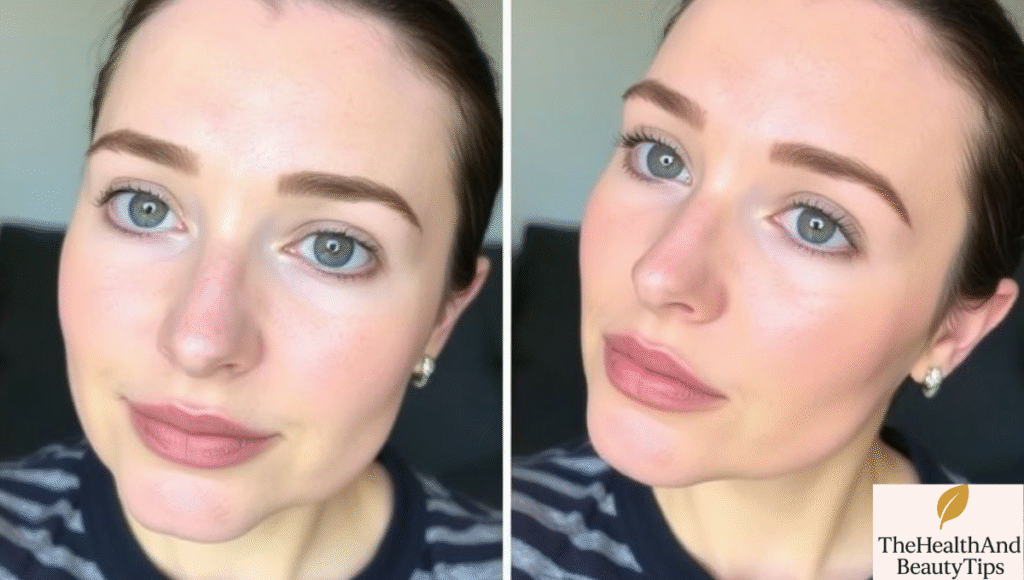
Conclusion — The Timeless Magic of Clear Brow Gel (2025)
In the ever-evolving world of beauty, clear brow gel has proven that simplicity never goes out of style. It’s the secret touch that elevates your look from everyday to effortlessly elegant — whether you’re heading to brunch, a meeting, or a special evening out. The right clear brow gel not only defines your brows but also enhances your entire face, giving it structure and polish without ever feeling heavy.
As trends shift toward minimal makeup and fresh skin, clear brow gel remains a must-have in every beauty bag. It delivers hold, shine, and precision — all wrapped in a lightweight formula that lets your natural beauty shine through. So, if you haven’t already, make 2025 the year you embrace clear brow gel magic and experience the power of perfectly sculpted, confident brows.
Your turn: Have you tried a clear brow gel that truly impressed you? Share your favorite in the comments or explore more expert beauty routines on The Health and Beauty Tips.
FAQs
Q1: How long does clear brow gel hold on average?
A1: Most clear brow gels provide 6–12 hours of reliable hold; long-wear or waterproof formulas can last a full day depending on skin oiliness and activity.
Q2: Can I use clear brow gel every day?
A2: Yes. Most formulas are safe for daily use. If you have brittle hairs, choose a conditioning formula and avoid over-manipulation.
Q3: Will clear brow gel stiffen my brows?
A3: It can if applied heavily. Use a thin, controlled layer and blend with a spoolie to maintain softness.
Q4: How do I remove clear brow gel?
A4: Use an oil-based cleanser or micellar water on a cotton pad for gentle removal, followed by your regular face wash.
Q5: Can clear brow gel give a laminated look at home?
A5: Yes — with a slightly wetter formula and careful upward brushing you can mimic a laminated finish. Use cool heat sparingly if you need to set faster.
